


This weekend was full of candy, uplifting messages, egg-hunting, family, and most of all, Christ. I love Easter Sunday for all of these reasons, but it’s especially special when General Conference and Easter land on the same day (wasn’t Elder Holland’s talk just amazing?) I am so grateful for my Savior, Jesus Christ who is the hands that lift us up to safety when we know for certain that we will fall.
Making Chelsea and Alexa’s dresses this year was especially fun because it was the first year I had two little girls to coordinate! Although it is REALLY fun to do matchy-matchy dresses, I decided not to go that route this year. Instead, I went with a floral theme because of two absolutely beautiful dresses I fell in love with on Pinterest.


I love how both dresses turned out! Chelsea’s dress was a little trickier, but Alexa’s dress was pretty straightforward. The one thing I was nervous about was the big yellow bow on the front. It turned out to be pretty easy to make, which is good news for EVERYONE.
So, you ready to learn how to make it?

You will need:
1/3 yard fabric
Needle and corresponding thread
Sewing machine, etc.
Dimensions:
12x10”
1.5x5”
Step 1: cut and iron
Cut your fabric into two pieces in the dimensions listed above. Iron both pieces.

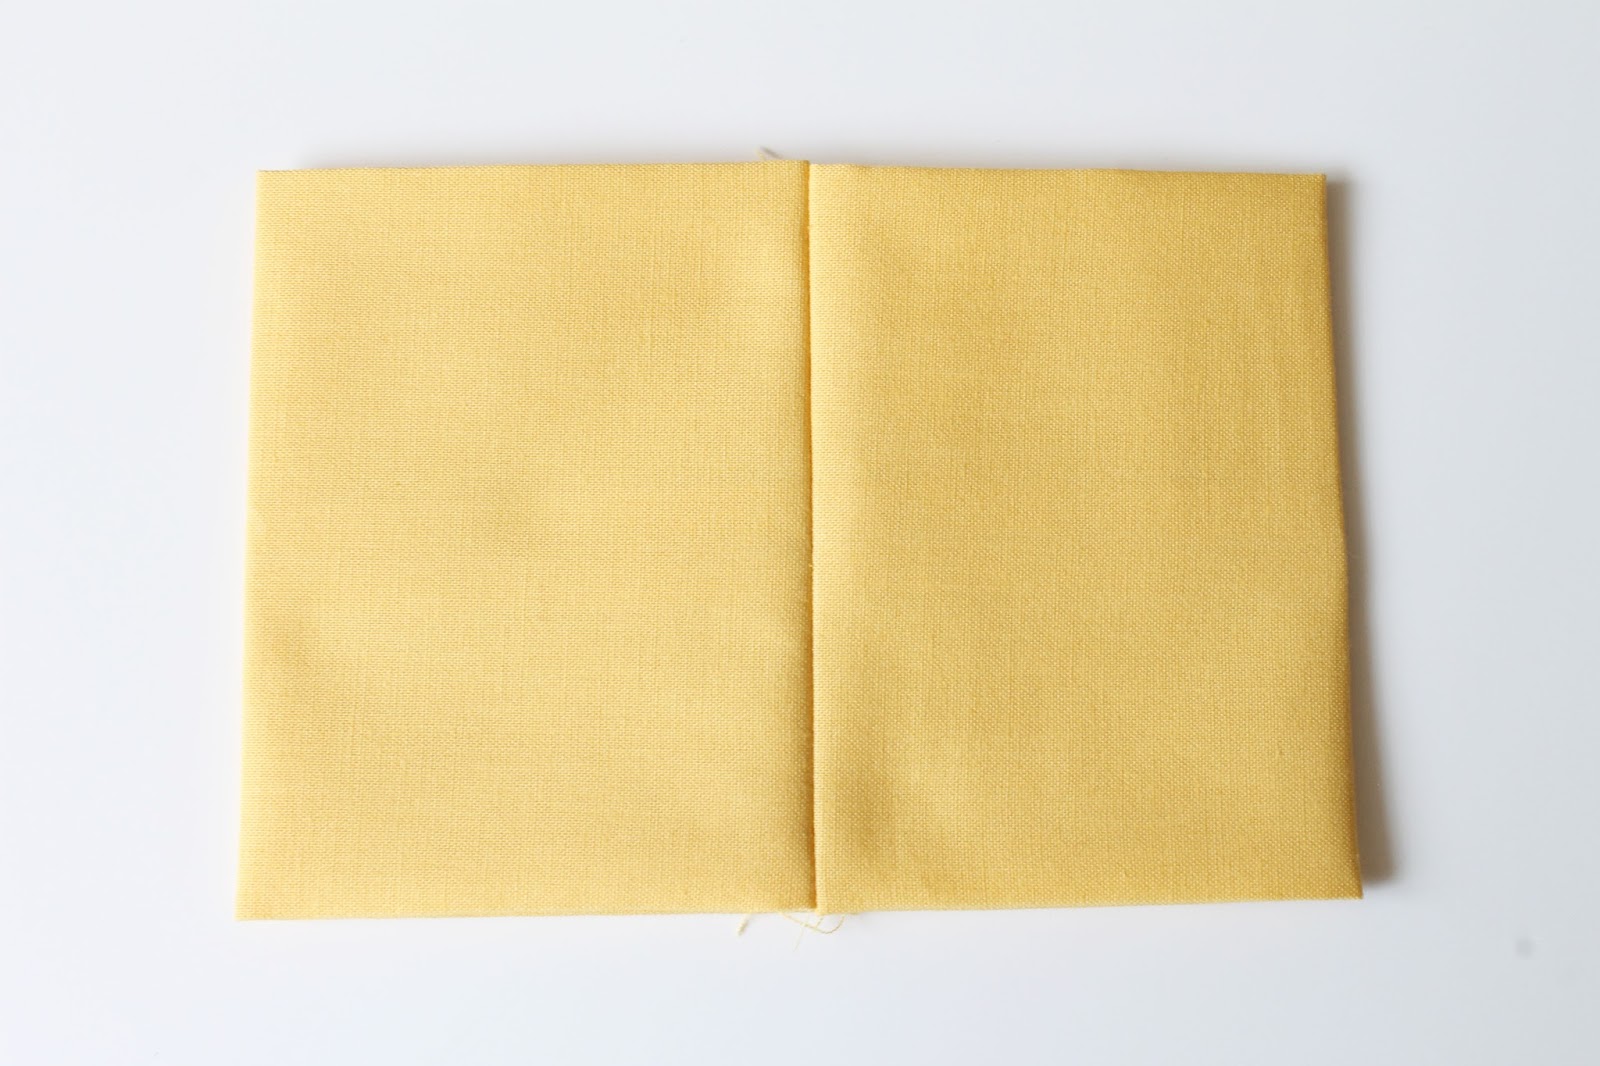
Step 2: sew the bow – seam 1
Bring the two long sides of the fabric together (right sides together) and sew a straight stitch with 1/2” seam allowance. Press the seam open with your iron and turn the “tube” right-side-out. Lie the tube out on your ironing board with the seam face-up in the center. Press the long sides for firm creases.

seam 2
Bring the shorter ends of the bow fabric with right sides together (the side without the seam), and sew a straight stitch. Press the seam open, then turn to the inside and iron the fabric down for firm creases, with the seam in the center.

pinch
Pinch the center of your bow, experimenting with the layers until you’re satisfied with how it looks, and use your needle and thread to sew through all the layers. Set bow aside.


Step 3: sew the tie
Sewing the tie is very similar to sewing the bow. Repeat the first part of step 2, but with 1/4” seam allowance instead of 1/2”. Use a safety pin to turn the tube right-side-out more easily.

Step 4: bow + tie – method 1
Wrap your tie around the center of the bow, pulling it as tight or as loose as you like. Use a needle and thread to sew the tie to itself (wrong sides together) and cut off any excess.
method 2
Measure how much of the tie you need to go around the center of the bow and add 1/2”. Bring the two short ends together and sew with a 1/4” seam allowance **. Press seam open, turn right-side-out (or don’t **), then slide onto bow with seam on the underside.
**Whether you sew with right sides together or wrong sides together is up to you! I chose to sew mine with wrong sides together so that I could sew the bow to the dress more easily by sewing through the dress and 1/4” of the excess from the tie.
If you’re worried about the tie slipping, simply sew it in place to the bow from underneath.
Now you’re done! and you can look at all the pictures of the finished product that just so happen to have the most perfect, adorable, little baby girl you've ever seen in them, too. ;)


No comments
You left me a comment! *fist pump*